
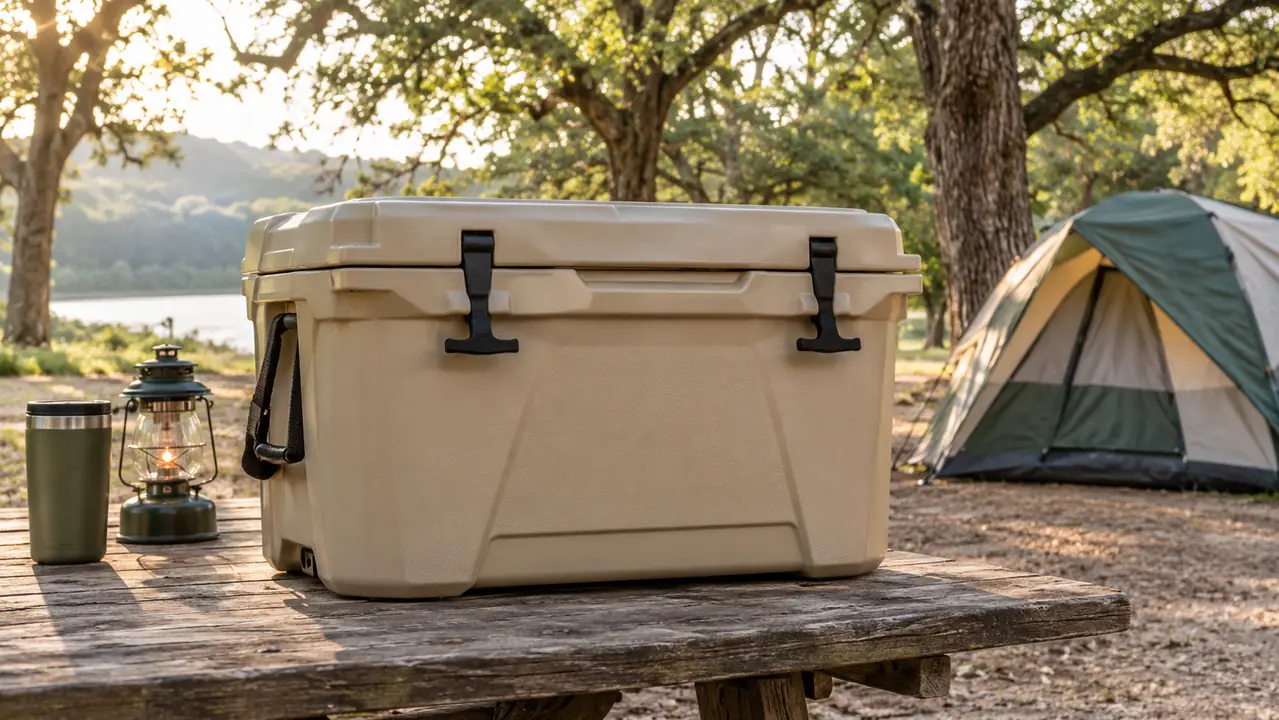
The first time I packed our YETI Tundra 45 for a weekend at Pedernales Falls, I did the lazy thing. I dumped in a bag of ice, threw in a case of room-temperature Dr Pepper from the pantry, closed the lid, and called it good. By Saturday afternoon there was two inches of water in the bottom, the drinks were barely cool, and I spent the rest of the trip rationing what was left of the ice for the meat. The cooler did exactly what a cooler does. The problem was everything I did before I closed the lid.
I've owned this YETI since spring 2025, and after about fifteen years of car camping out of our 2017 4Runner, I can tell you that a hard cooler only keeps ice for a whole weekend if you run it like a system. Pre-chill it. Pack it cold. Fill every gap. Keep the lid shut. This is the exact routine that got us through a Texas summer at Garner and Pedernales, and it works just as well on our yearly trip to the Colorado mountains, where the nights are cold but the days still cook the inside of a cooler.
Start with a cooler that holds the cold
The YETI Tundra 45 is the rotomolded ice chest we've packed this way since spring 2025. It's not magic, but it holds cold better than anything else we've owned, and it takes the abuse of being dragged out of the back of a 4Runner every other weekend.
Amazon Check Today's Price on Amazon →Why a Good Cooler Still Needs a Routine
A rotomolded cooler like the Tundra 45 is the right tool for the job, and there's a reason people who camp in real heat buy them. The walls are thick, the gasket seals tight, and the lid latches down hard. But a cooler is not a refrigerator. It has no power source. All it does is slow down the transfer of heat, and how slowly it works depends a lot on what you put inside it and how warm that stuff is when it goes in.
The mistake most people make, and I made it too, is treating the cooler as a passive box. You buy the expensive one, you stuff it full of ice, and you expect it to work. It will work better than a cheap one, no question. But if you want ice on Sunday, you have to do the boring prep work on Thursday and Friday. None of it is hard. All of it is stuff you can do while you are packing the rest of the car.
The Five-Step Routine
Step 1: Pre-chill the cooler the night before
A rotomolded cooler has thick walls, and those walls are the whole point. They hold cold. But they also hold heat, and if you load a warm cooler with ice, the first few pounds melt just to cool the plastic down. That is wasted ice before you have even put food in. On a hot day, a cooler that has been sitting in the sun can easily be 100 degrees inside, and every degree you drop before you load it is a degree the ice does not have to pay for.
The night before we leave, I bring the Tundra 45 inside and set it in the coolest room in the house, which for us is the laundry room. I put two frozen gallon jugs inside and close the lid. By morning the interior is cold to the touch, and the ice I pack at the trailhead has a head start instead of a deficit. If the cooler is going to sit in the back of the 4Runner while we finish loading, I load it last, right before we pull out.
If you cannot get the cooler inside, at least park it in the shade overnight. A cooler that sat in a hot garage or the bed of a truck all day is starting from a bad place. In Texas in July, that mistake can cost you half a day of ice life. It takes five minutes the night before and it is the single cheapest thing you can do to make the weekend ice last.
Step 2: Build a bottom layer of block ice and frozen jugs
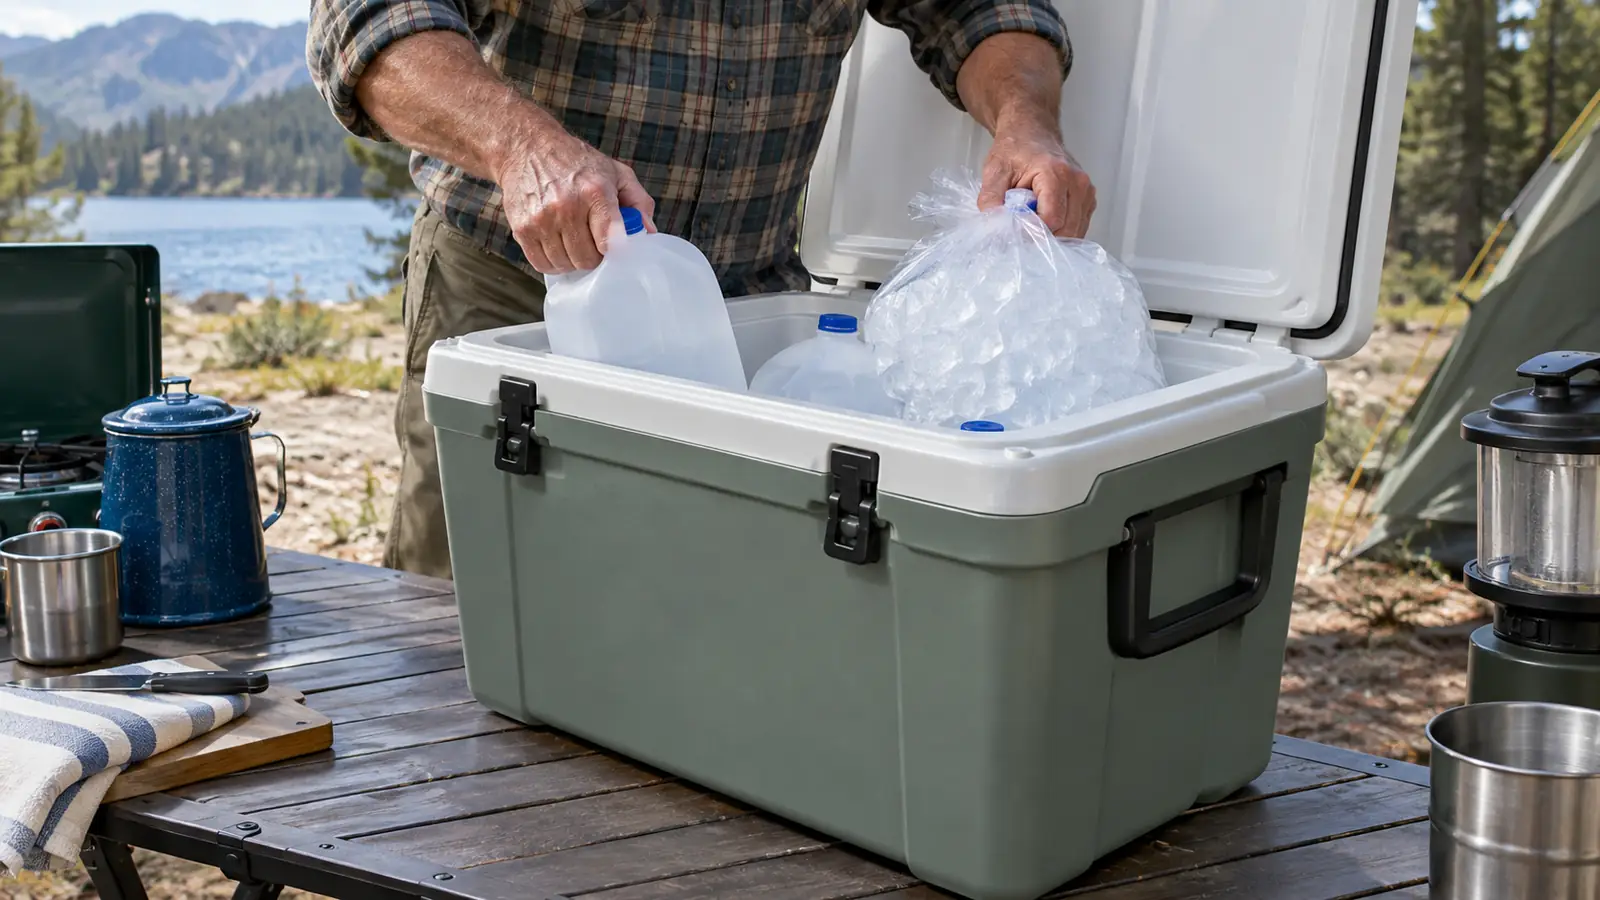
Cubed ice melts fast. Block ice melts slow, because it has less surface area per pound, which means less of it is exposed to warm air and warm food at any given moment. You can buy block ice at most ice houses, but we make our own. Clean gallon jugs filled with tap water and frozen solid. A frozen gallon jug is a block of ice with a handle, and it costs almost nothing to make. We start freezing them two days before a trip.
The jugs go on the bottom of the cooler, flat side down. They do three jobs at once. They anchor the cold at the bottom, where it sinks anyway. They keep the food above them out of the melt water. And as they slowly thaw, they give you cold drinking water for the trip. We freeze four jugs for a three-day weekend, and we have never come home with all four empty.
On top of the jugs goes the food, then a bag or two of cubed ice to fill the gaps around it. The cubed ice chills the food fast. The jugs underneath keep the whole cooler cold for the long haul. That two-layer setup is the difference between ice on day one and ice on day three. It is also the difference between dry food and food floating in a puddle by Sunday.
Step 3: Pack everything cold and fill every gap
Everything that goes into the cooler should already be cold. Drinks come out of our fridge, not the pantry. Meat goes in frozen when we can manage it. If we stop at the store on the way to the park, I buy drinks from the cold case, not from the shelf display by the register. Every warm item you load is a little heat bomb the ice has to absorb, and a case of warm soda can wipe out a surprising amount of ice by itself.
Air is the other enemy. A half-empty cooler loses cold fast, because every pocket of air is a pocket of warmth that the ice has to keep cooling over and over. Pack the cooler full. Fill gaps between drinks with smaller bottles or a bag of ice. If you have more space than food, add more frozen jugs or a few frozen water bottles instead of leaving it half empty. A full cooler is a cold cooler.
Two coolers is better than one if you can swing it: a food cooler that stays shut and a drink cooler that gets opened all day. This article is about the one-cooler version, and the trick there is discipline. Load it so you can grab what you need without digging through everything to find it. I put the drinks we will want most on top, and the stuff nobody touches until Sunday on the bottom. That way the lid stays closed more often than it is open.
Step 4: Keep the cold in, and don't drain the water
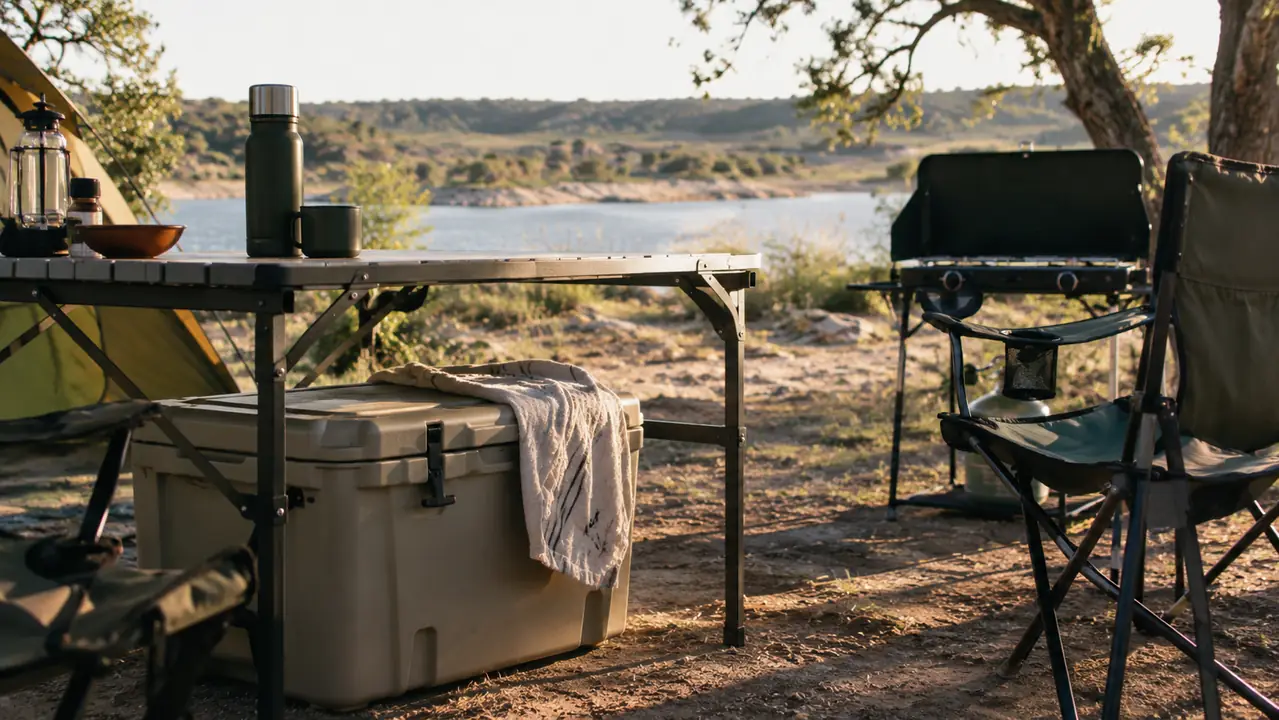
Once the cooler is loaded, treat the cold like it is expensive, because it is. Keep the cooler in the shade, not in the sun. At a Texas state park, that usually means under the camp table or on the north side of the tent. I put a light towel over the lid, which adds a little insulation and keeps the sun off the top. If the campsite has no shade at all, the towel and a shady spot under the table are what keep the lid from turning into a solar collector.
Open the lid as little as possible. Every time you open it, warm air rushes in and cold air spills out. I keep the drinks we are most likely to want near the top, and I make Eli grab everything he needs in one trip. It sounds fussy, but lid discipline is worth hours of ice life. Wade used to crack the lid to check on the ice, and I finally broke him of the habit by pointing out that the ice was not going to vanish if he stopped looking at it.
Here is the counterintuitive part: do not drain the melt water. Cold water holds cold far better than air does, and a cooler with a few inches of water in the bottom keeps food cold longer than a drained one. The drain plug on the Tundra is there for cleanup at home, not for mid-trip maintenance. Wade and I learned that one the hard way at Garner, when we drained it on Saturday morning and the drinks were noticeably warmer by dinner.
Step 5: Keep food out of the water and know when to add ice
The downside of not draining is that food can end up sitting in water. I pack anything that should not get wet in a waterproof bin or a zipper bag. Raw meat goes in a sealed container on the bottom, close to the coldest part. Produce stays in a mesh bag up top. A little organization saves a soggy sandwich on day two, and it also makes it easier to lift food out without dumping the whole cooler.
Know your ice budget. For a three-day trip in Texas summer, we go through about two bags of cubed ice total: one at the start and one topped up on Saturday morning before the heat peaks. The frozen jugs do the heavy lifting, so the cubed ice is mostly there to keep drinks and food cold. If we are cooking a lot of meat, I add a third bag, because every time you open the lid to pull out chicken, you are spending a little of what is inside.
If you do add ice, add it early in the day, not at night. Ice added in the cool morning has time to settle and chill the contents before the afternoon heat. Put the new ice on top, where it can cool the air and the items people grab most. And pour off just the water at the very top if it is getting deep, but leave the cooler mostly alone. The less you fiddle with it, the longer the ice lasts.
What Else Helps
A few things that are not steps but make the whole system work better. Freeze as much of your food as you can before you leave; frozen meat and frozen water bottles are doing cold work, not heat work. A cheap cooler thermometer tells you when you are actually in the danger zone instead of guessing. And keep the cooler out of the car during the day, because a closed car in Texas sun is an oven. We park the 4Runner in whatever shade we can find and leave the cooler under the camp table.
If you are still deciding whether a rotomolded cooler is worth it, there is a whole article on why rotomolded coolers keep ice longer, and a long-term review of the Tundra 45 that covers how it has held up after a year and a half of weekend trips. The short version is that the thick walls and the tight gasket are what make the difference, and the Tundra 45 is the one we reach for every time. If you are comparing it to a cheaper option, the Tundra 45 versus the Igloo BMX comparison lays out the tradeoffs in price, weight, and how long each one actually holds ice.
The Bottom Line
The whole routine takes about twenty minutes of prep, most of it the night before. Pre-chill the cooler, freeze the jugs, pack everything cold, fill the gaps, keep the lid shut, and do not drain the water. Do that and a good hard cooler will absolutely keep ice for a three-day weekend, even in Texas in July. We have done it at Garner, at Pedernales, and up in the Colorado mountains, and the only time we bought ice mid-trip was the weekend we forgot to pre-chill.
Three days at Garner in June, and we came home with ice still in the bottom of the cooler. That is the whole point of the system.
Pack it right and the weekend ice holds
The YETI Tundra 45 is the cooler we've run this routine with since spring 2025, and it's held up through Texas heat, mountain nights, and a 14-year-old who treats the lid like a seat. Check today's price if you're ready to stop buying ice every morning.
Amazon Check Today's Price on Amazon →