
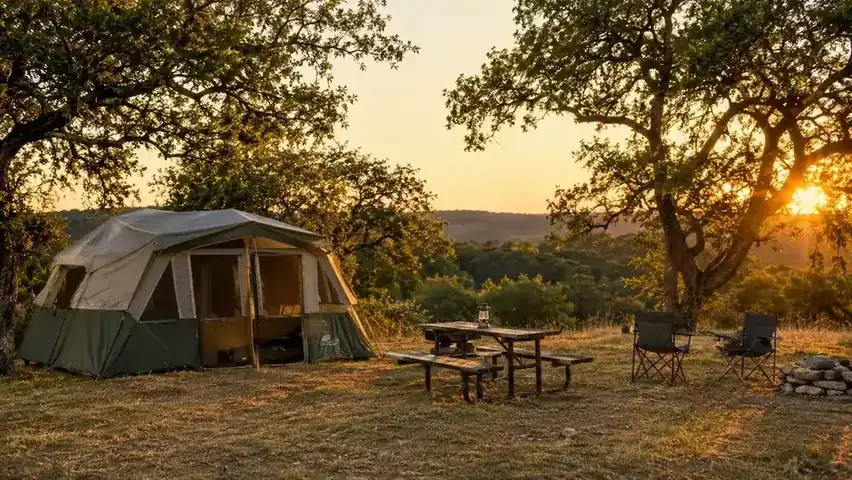
The worst part of a camping trip is never the drive, the heat, or the bugs. It's the 25 minutes of wrestling tent poles while the light fades and everybody gets hungry and short-tempered. My old dome tent from a big-box store took two of us that long to pitch on a good day, and it rewarded us by leaking at the seams during a storm at Garner State Park. I remember standing inside it that night, holding a towel against the drip, and making a decision. The tent had to get easier. The campers weren't the problem.
The CORE 9 Person Instant Cabin Tent is the fix I landed on, and two seasons in, it still goes up faster than anything else I own. The poles are pre-attached to the fabric and hinged at the corners, so there's no sorting poles, no threading sleeves, no guessing which end goes where. You unfold it, extend the frame, stake it down, and you're done. I've pitched it at Garner, at Pedernales Falls, along the Guadalupe River, and on a cold week in the Colorado mountains, and the routine has been the same every time. Here's the exact five-step process I use, so your first trip with one goes as smooth as my tenth.
A family tent that goes up before the ice melts in the cooler.
The CORE 9 Person Instant Cabin Tent is the one I reach for on every trip now. It sets up in minutes, holds up in Texas wind, and gives three of us room for cots, gear, and a card table.
Amazon Check Today's Price on Amazon →Why the Instant Setup Matters
Setup speed isn't about being lazy. It's about what happens after the tent is up. When the tent goes up in eight minutes instead of twenty-five, the kids aren't whining yet, the light hasn't gone, and you still have energy to build the fire, sort the sleeping bags, and actually enjoy the evening. On our first trip with this tent, we were sitting at the picnic table with dinner cooking before the neighbors had their poles sorted.
The other half of the equation is that the CORE's instant frame makes the tent easier to take down, too. The same hinges that lock the poles into place release them in seconds, so the whole routine reverses without a fight. A tent that's easy to take down is a tent you actually use, because you're not dreading the morning chore. That's the real reason I bought it, and it's the reason I've kept it for two seasons.
Step 1: Pick a Flat Spot and Clear It
Before the tent comes out of the bag, walk the whole campsite. I'm looking for ground that's reasonably flat, free of rocks and roots, and not sitting in a low dip where water collects after a storm. At Pedernales Falls last spring I watched a family set up in a shallow bowl, and they spent the evening digging a trench around their tent while the rest of us ate dinner. A few extra minutes of walking saves you hours of regret, and it's the cheapest insurance you'll buy all weekend.
Orientation matters more than most people think. I face the door away from the prevailing wind, and in Texas summer I angle it toward whatever afternoon shade we can get. The CORE cabin tent has a wide door on the front and windows on both sides, so you've got real flexibility on which way to face it. Point the door at the picnic table or the fire ring, and you'll thank yourself every time you go in and out with a load of dishes or a sleeping kid.
Once I've picked the spot, I do a slow lap and move anything sharp: acorns, pine cones, the stray stake from the camper before us. A patch of ground that looks fine in daylight feels like a mountain range at 2 a.m. when you're trying to sleep on it. I also check for ant beds and fire ant mounds, because Texas has a way of hiding them until you're already committed. This whole sweep takes two minutes, and it's the difference between a relaxed weekend and a miserable one.
Step 2: Unfold and Spread the Tent Flat
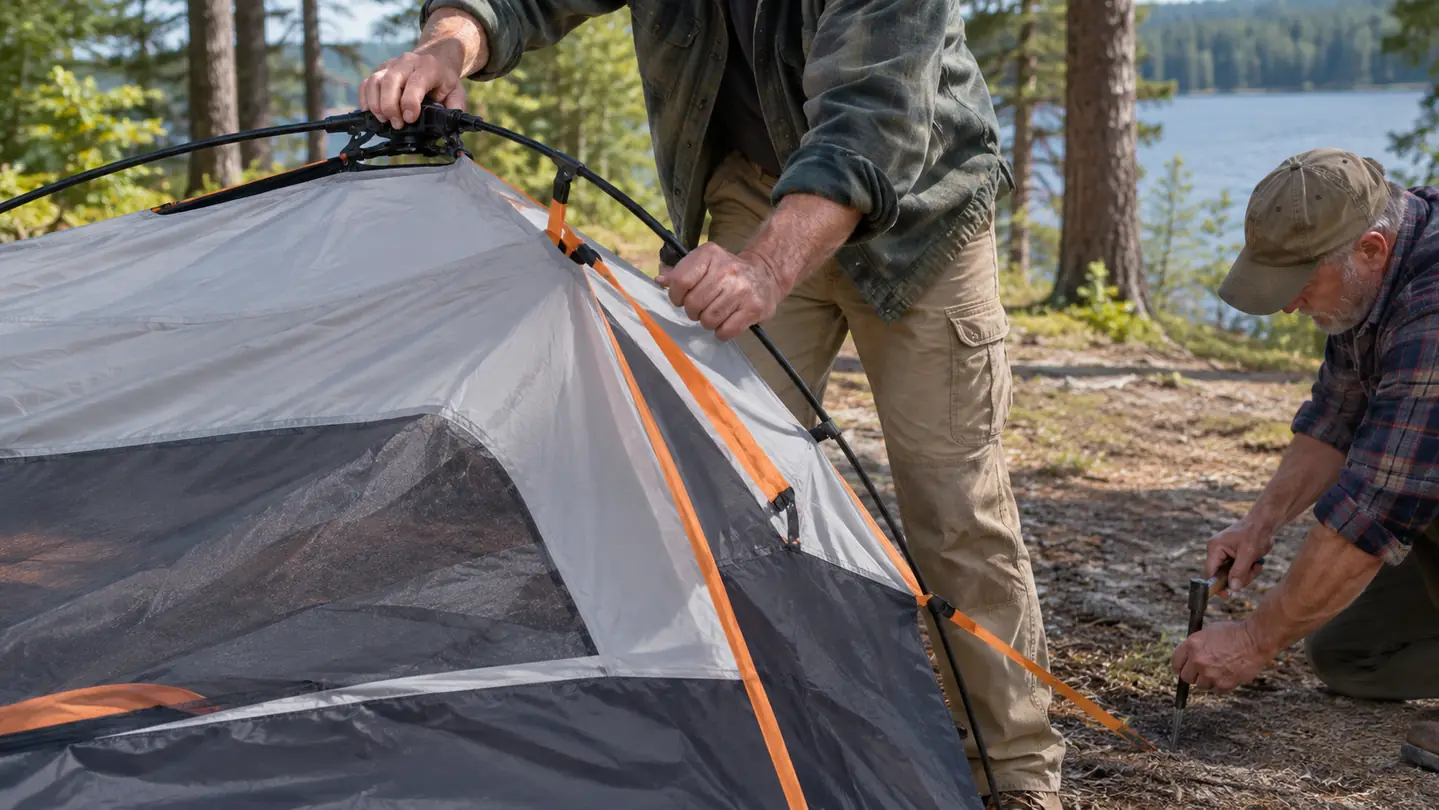
This is where the CORE instant cabin earns its keep. The poles are already attached to the tent, hinged at the corners like a pop-up, so there's no pole bag to sort and no numbered sleeves to match. You pull the tent out of the carry bag, find the hub at the top, and spread the whole thing flat on the ground with the door facing the direction you chose in Step 1. The first time I did this, I kept waiting for the hard part. There wasn't one.
I lay it out with the floor down and the roof up, then smooth the fabric with my foot so there are no folds under the corners. A flat start means the poles extend evenly and the tent rises square. If you've ever fought a sagging wall on an old dome tent, this is the part you'll appreciate most, because there's nothing to align and nothing to feed through a sleeve. The fabric is heavy and the poles are already in it, so it doesn't blow around the way a loose tarp does.
Two people make this easy, but I've done it alone more than once. One person holds the hub while the other walks the corners out to their spots. With Wade and Eli helping, we go from bag to flat in under a minute. The whole trick is not rushing the spread. If the fabric is bunched under a corner, the pole will fight you in the next step, so take the extra ten seconds to make it smooth. That one habit has saved me more aggravation than any other part of this process.
Step 3: Pull the Poles Into Place
Now for the actual instant part. Each corner has a pole that folds at a hinge, and the frame locks together at the top hub. I start at one corner, press down on the hub to create tension, and extend the pole until it clicks into the pin at the corner. Then I move to the opposite corner, and then the other two. The tent rises as you go, and within a couple of minutes the whole frame is standing on its own. The first time, I actually laughed, because I was braced for a fight that never came.
The CORE frame locks into place with a click, and it stays. If a pole resists, check that the fabric isn't pinched under the hinge. That's the one mistake I see people make, and it's a ten-second fix once you know to look for it. I used to spend my setup time threading fiberglass poles through sleeves and watching the tent collapse when one end slipped out. Now I spend it telling Eli which corner is next.
Work the corners in an X pattern instead of going around the tent. Extending opposite corners keeps the fabric even and stops the walls from pulling lopsided. Eli can handle two corners by himself now, which means my job is mostly standing back and saying 'that one's not clicked yet.' When all four corners are locked, give the hub a gentle push up from underneath to seat the frame fully. You'll feel it settle into place, and the walls will go from saggy to drum-tight.
Step 4: Stake the Corners and the Base
A tent that stands on its own is not a tent that stays. The CORE comes with stakes, and I use every loop, not just the four corners. I drive the corner stakes in at a 45-degree angle, pointed away from the tent, so they resist the pull of the fabric instead of just sitting in the dirt. A stake that goes straight down is a suggestion, not an anchor. This is the step people rush, and it's the one that matters most when the wind picks up at 3 a.m.
Then I stake the loops along the base, one at each corner of the floor and the ones in the middle of each wall. In the Hill Country, the wind can come up fast in the late afternoon, and a tent that's only staked at four corners will flap and drum all night. Staking the full base is the difference between sleeping and listening. It takes about two extra minutes, and it's the highest-value work you'll do all weekend. The CORE's base loops are easy to reach, which means there's no excuse to skip them.
If the ground is hard, I press the stake in with my foot rather than a mallet, and I keep a rubber mallet in the 4Runner for the stubborn spots. Rocky soil at Garner taught me that lesson. When we're done, I tug each stake once to confirm it's set. Loose stakes are the number one reason tents end up wrapped around a tree in a storm, and they're the easiest thing to prevent. Thirty seconds of tugging beats a midnight re-pitch in the rain.
Step 5: Attach the Rainfly and Do a Final Walk-Around
The rainfly is the part people skip because the sky is blue and the forecast says zero percent. Then the 2 a.m. thunderstorm rolls in and the tent seeps. The CORE rainfly clips over the top and fastens at the corners, and it takes about three minutes. I put it on every trip, every single time, because Texas weather has lied to me more than once and I'd rather carry a little extra fabric than sleep in a puddle. The fly also gives you a vestibule of sorts, a dry spot to kick off muddy shoes before you step inside.
Once the fly is on, I do a slow walk-around. I check that the door zippers run smoothly, that the windows are closed or vented, and that the fly isn't touching the tent walls where it would wick moisture. I also confirm the door opens toward the picnic table or wherever we actually want to sit. Moving a tent after it's pitched is a waste of energy, and checking takes thirty seconds. If the fly is touching the wall, I adjust the corner straps until there's a finger's width of air between them.
Last thing: I sweep the floor with my hand before we bring in the cots. One stray pebble under a sleeping pad is a 3 a.m. annoyance, and it's easier to find it in daylight. Then I put the carry bag inside the tent so it doesn't walk off, and we're done. From bag to finished, two adults and a teenager can do this in about eight minutes. On my own, it's closer to twelve, and that still beats the old dome tent by a mile.
What Else Helps
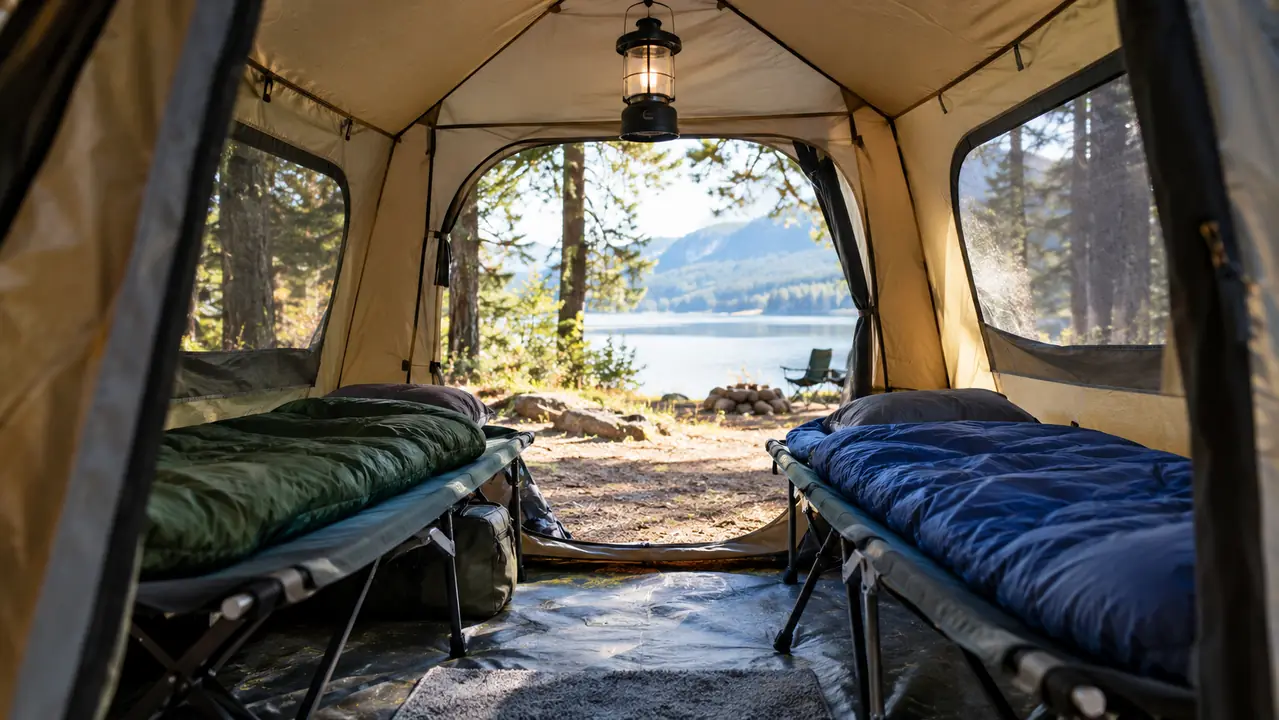
The tent does the heavy lifting, but a few small things make setup and the whole weekend better. I lay a ground cloth under the footprint to protect the floor from rocks and thorns, and I keep a small broom in the 4Runner to clear the floor before we roll out the cots. The CORE cabin's straight walls give us enough room for three cots, a lantern, and a card table, which is exactly why I picked the 9-person size even though there are only three of us. For car camping with a family, the extra floor space is worth every bit of the larger footprint.
Practice once at home, in the backyard, before you ever leave for the park. Set it up and take it down in daylight, when nobody is tired and dinner isn't waiting. That one dry run means your first real setup is actually your second time doing it, and it takes half as long. I also keep the setup instructions in the bag, not in the recycling bin, because the first trip after a long winter always needs a refresher.
One more thing: when you take the tent down, don't fight the poles. Fold them in the reverse order, corner by corner, and let the hub collapse gently. Then fold the tent into thirds along the factory creases and roll it into the carry bag. A tent that goes back into its bag the right way comes out of it the right way next time, and that's half the battle of fast setup. It also keeps the zippers from snagging on bunched fabric, which is how zippers die.
Two adults and a teenager can go from bag to finished in about eight minutes, and I've done it solo in twelve.
Set your next trip up in minutes, not half an hour.
The CORE 9 Person Instant Cabin Tent is the tent I've used for two seasons now, and it's the one I'd buy again tomorrow. If you're tired of wrestling poles at dusk, this is the fix.
Amazon Check Today's Price on Amazon →